How to add collateral and buy assets with Eternl
Once you have linked your Eternl wallet to your CNFT account you will need to add collateral to your wallet.
First, you will need to go to the wallet you want to use within Eternl google chrome extension, click the settings cog and scroll down to ‘Single address mode and enable this setting.

Then you will need to add collateral. This is the same as Nami and will need 5ADA or above.

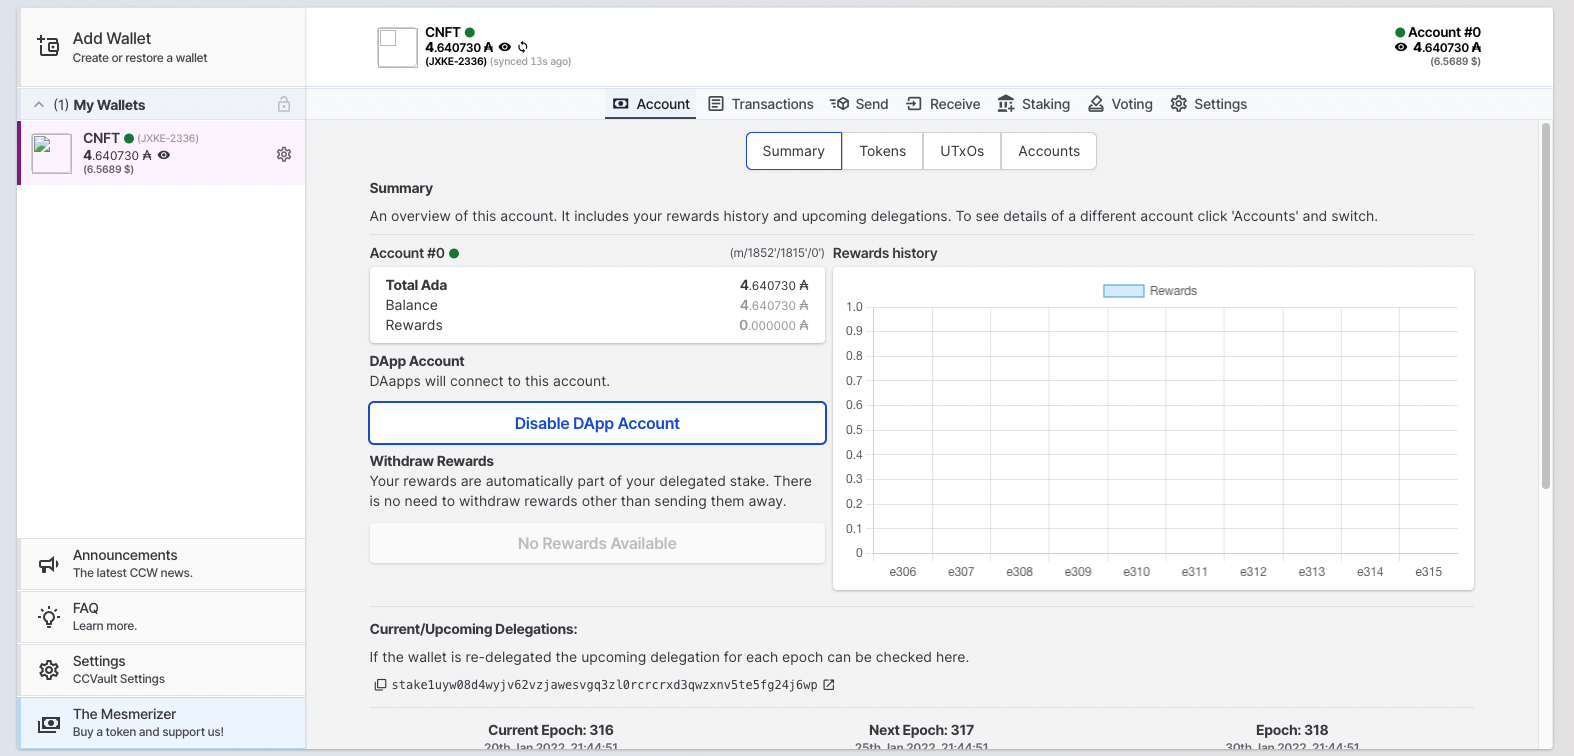
After this, you will need to head to the account section of the app and enable Dapp Account so it defaults to your chosen wallet (This only applies if you have more than one wallet address with Eternl)
Now you’re ready to start purchasing assets using your Eternl Wallet.
Find the Smart Contract asset you would like to buy.
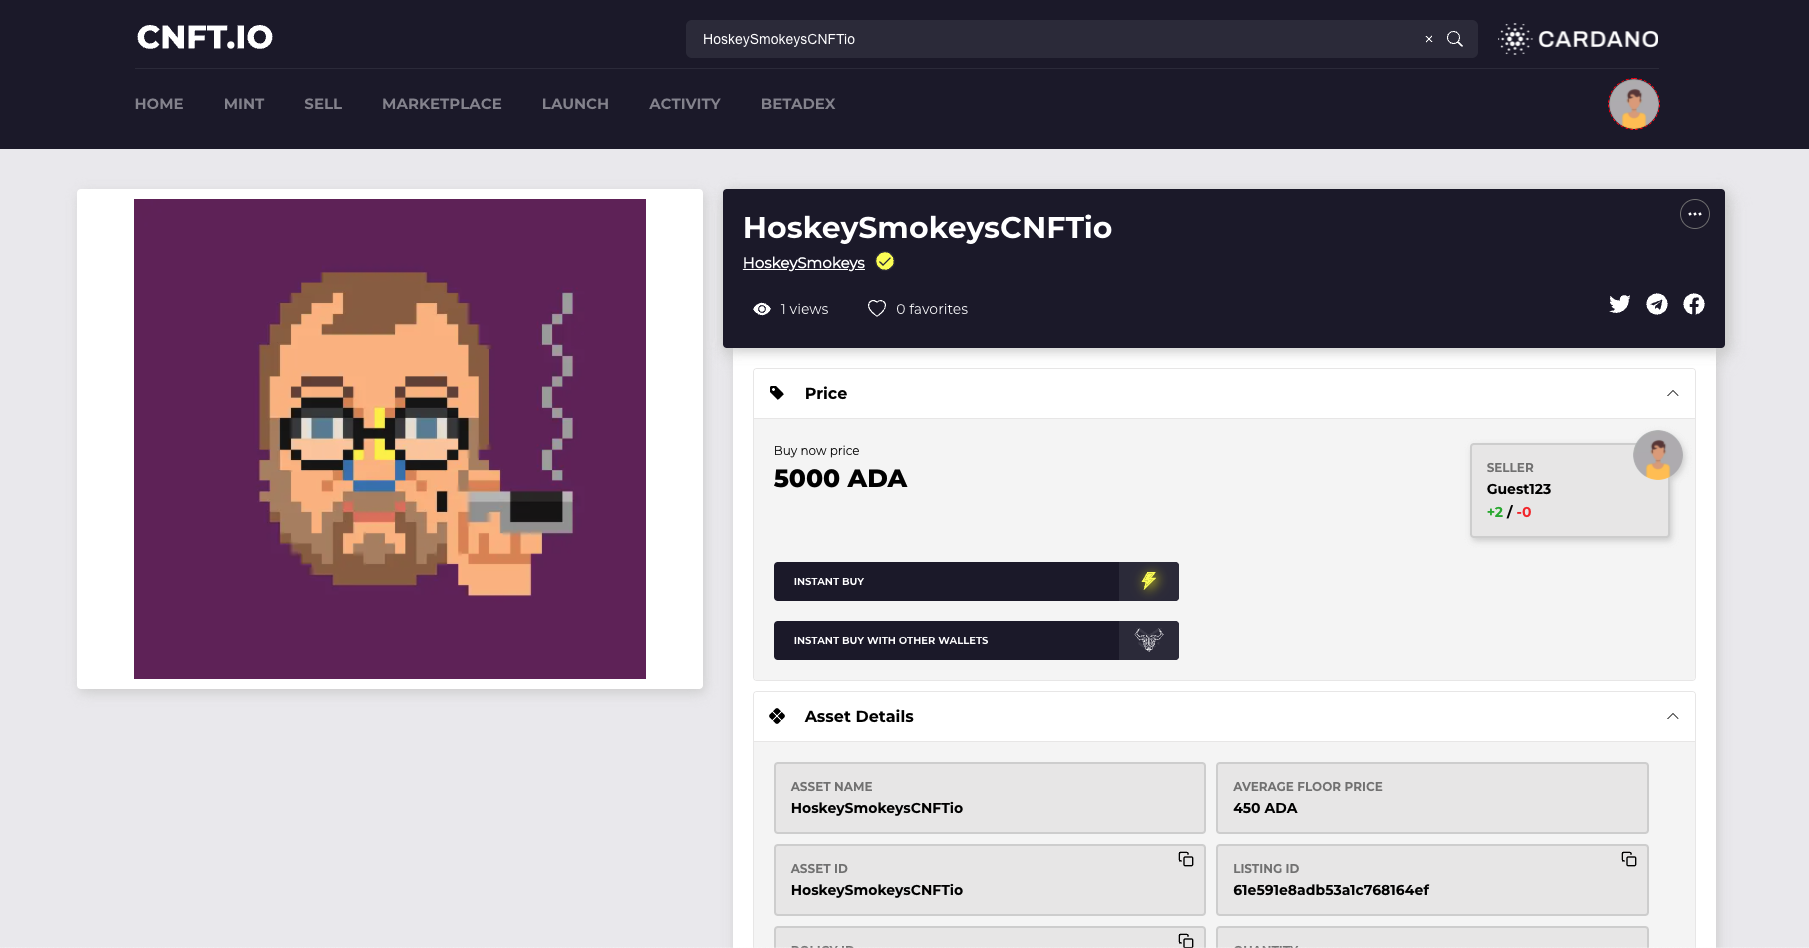
Select Instant Buy
Instant Buy will give you a list of supported wallets you can purchase from, in this case, the newest addition is Eternl. Just simply click Eternl and wait for the session to create, check the details and sign the TX.

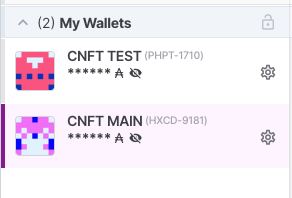
If you have more than one wallet synced with Eternl, when making a purchase, say you want to make a purchase with the second wallet in your account. You will notice the pop up will not allow you to change this. The way to fix this is to go to the wallet extension, highlight the wallet you want to use and head back to CNFT and try the purchase again, you should then see the pop up has the new wallet selected and you can continue your purchase.